All objects added to Islandora need to be placed in a collection.This tutorial will walk you through the steps to create a new collection in the Islandora Repository.
1. Navigate to the place where the collection will be placed and click 'Manage'
In this example, we will be using a site that contains no objects or collections. In this case, we will be placing our new collection in the top-level or 'root' collection (in a fresh installation of Islandora, you can navigate to the root collection by pointing your browser to http://path.to.your.site/islandora, or by clicking 'Islandora Repository' in the Navigation block).
We refer to a collection contained within another collection as a 'child collection'.
In practice, though, not all child collections need to be placed in the top-level collection. A new child collection can be placed in any object that contains the 'Collection' content model. This allows you to create both child collections and sub-child collections in much the way you would create folders and sub-folders on your computer. However, in Islandora, a collection can be the child of more than one parent collection.

Click the 'Manage' tab in the collection you would like to place your new child collection into.

This will take you to the Collection management page.
3. Click 'Add a child collection to this collection'

This will take you to the form to create a new child collection.
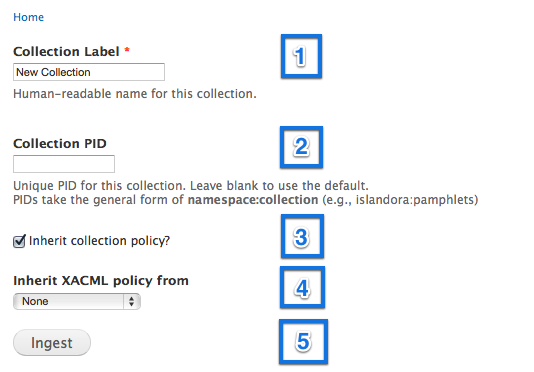
The collection form contains five major steps:
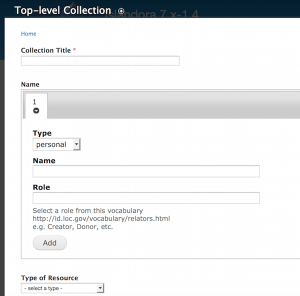
- Collection Name - This is the name that will show up at the top of the collection's page (see 'Top-level Collection' in the first image above for an example).
- Collection PID - This is the Persistent Identifier for this new collection; check APPENDIX E - Glossary for more information on Persistent Identifiers
Inherit collection policy?- Check this box to copy the parent collection's collection policy into the new collection. This will include any content models the parent collection was using. In this example, the only content model in the top-level collection's collection policy was the 'Collection' content model. so no other unique content models will be pulled.
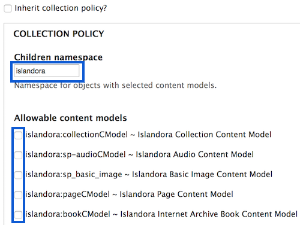
If the inherit collection policy box is not selected you will need to enter a Children Namespace - This is the namespace objects in the new collection will use (again, check the Glossary for more information). You may select any content models which will apply to this new collection (this will display all content models that are available in your repository).
- Inherit XACML policy from: Select from the dropdown menu if you would like to copy the XACML policy.
- Create collection - Once the form is filled out, click this button to create the collection.
The MODS Collection metadata form allows the user to fully describe collection objects. Once the form has be filled in, the user can select Ingest to complete the creation of the new collection object.
6.View the new collection

You will now be brought to the new child collection's page.