Unless you are a core VIVO developer, you cannot commit code directly to the VIVO repositories. Instead, you can contribute using the fork, branch, and pull model. Helpful descriptions of the process are available here or here and the basic steps are described below.
Step-by-step guide
This guide assumes you have already have a GitHub account and have set up git on your local machine.
Fork the repository
- Login to your GitHub.com account.
- Go to the repository you wish to contribute to. The full list is at https://github.com/vivo-project. For this tutorial, we will contribute code to the main VIVO repository.
- On the repository's front page, click the 'Fork' button on the upper right.
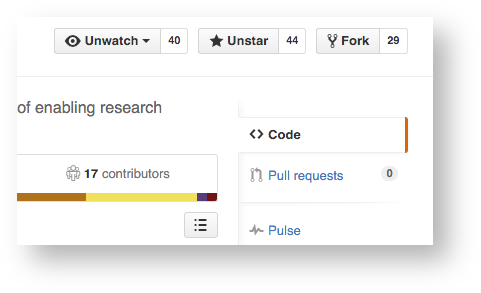
You will now have a copy of the VIVO repository on your GitHub account.
Clone the forked repository onto your local machine
On your local machine, navigate to a convenient directory in your command line interface
Clone your forked VIVO repository. The https clone url is located on the right side of the GitHub page.

git clone https://github.com/{your_github_username}/VIVO.gitGit will download the project files into a folder named VIVO and start tracking changes. If you will be contributing again in the future, you likely want to set up your local repository to fetch code updates from the main upstream VIVO repository (not covered in this tutorial).
Create a branch
Using branches is a good idea so code changes you make are isolated from each other and can be integrated into the main code repository in separate pull requests.
If you haven't already, switch into the VIVO directory
cd VIVO
Create a new branch, replacing 'myFeature' with a descriptive branch name
git checkout -b myFeature
Tell GitHub about your new branch
git push origin myFeature
Do your thing!
Make changes, hack away. Push your commits on your feature branch to the remote repository (your VIVO fork). As an example, I've changed robots.txt and pushed a commit to my fork. Changes should be prepared in accordance with recommendations listed here.
cd productMods
nano robots.txt /*edit and save*/
git add robots.txt
git commit -m "adjust robots.txt"
git push
Submit a pull request
This is where you ask the core developers to 'pull' your code changes into the main VIVO repository.
- If this is your first contribution to the VIVO project, please sign License agreement available at Contributor License Agreements.
- Return to your forked repository on GitHub.com, https://github.com/{your_github_username}/VIVO in this example
- Switch to your new branch
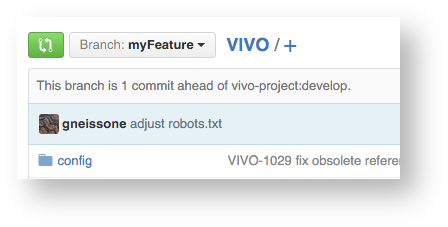
- Click the 'Pull Request' button to the right of the text that says 'This branch is n commit(s) ahead of vivo-project:master.'
- Write a description of the changes you have made
- Click Create pull request! The core developers may accept the pull request or ask you to make additional changes. If so, you can commit the changes to your feature branch without making a new pull request.
Welcome to the VIVO commit history and contributors list!
1 Comment
Sarbajit Dutta
Very good explanation. Thanks!