...
In this case, we've selected an image from the Basic Image collectionCollection. Click the 'Manage' tab to continue.
2. Click the 'Datastreams' button

This will bring you to the datastreams datastream management page.
3. Click the 'Add a datastream' button
 Image Added
This will bring you to the datastream adding form.
4. Fill out the datastream adding form
 Image Modified
...
- Here you will give your datastream an identification (DSID). There are a few preconfigured datastreams that are recognized by different solution packs, but your Fedora repository will accept the ingesting of datastreams with any ID - if they aren't part of the preconfigured list, they will simply exist as an appended file, without additional support by Islandora. You can check the standard list of DSIDs for a particular solution pack in
...
- the Solution Packs section of Chapter 5 of this manual.
- Datastream Label -
...
- Though necessary, this label can realistically be anything you choose. Islandora doesn't recognize one label over another; this is simply a human-readable name to be appended to the datastream for quick identification.
- Upload Document -
...
- This is the standard form to upload a file. It can vary between browsers. This is where you will choose the file to be associated with the datastream you are creating.
- Add Datastream -
...
- Once everything is filled out, click this button to start the ingest process.
5. Wait for the ingest process to complete
 Image Modified
Once the process is successfully completed, you will see the above message. You can check if your datastream has been added properly by navigating to the datastreams management page of your object and looking for it in the list:
 Image Modified
Removing and replacing a datastream
In this example, we will be replacing the 'thumbnail' datastream of a collection, getting rid of the 'folder' icon and uploading a different image in its stead.
1. Choose the object whose datastream you would like to replace
 Image Added
In this example, we will be working inside the standard Video Solution Pack collection.
2. Click the collection's 'Manage' tab
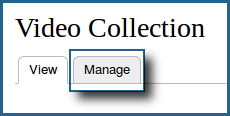 Image Added
This will bring you to the collection's management page.
3. Click the 'Datastreams' button
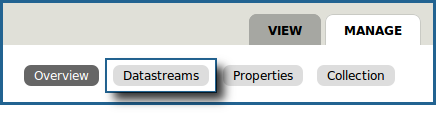 Image Added
This will bring you to the datastreams management page.
4. Delete the original datastream
 Image Added
You can do this by clicking the 'delete' button next to the datastream you wish to delete. In this case, we will be removing the 'TN' datastream, which corresponds to the collection's thumbnail image.
 Image Added
You will be asked to confirm your deletion; click the 'Delete' button to continue.
5. Fill out the datastream adding form with the same DSID as the one you just deleted
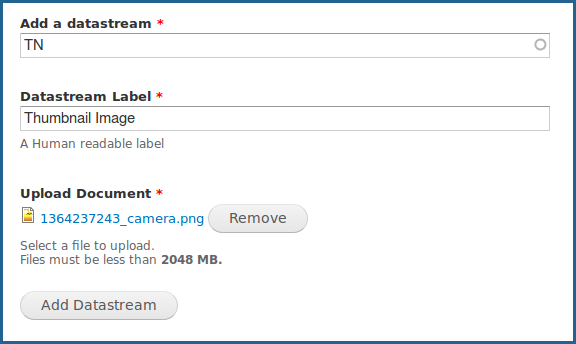 Image Added
You can get to this point by following the same steps as listed in the 'Adding new datastreams' section above.
In this case, we will be adding a new thumbnail icon using a DSID of 'TN', with an accompanying label that makes sense.
| Info |
|---|
Thumbnail images are, by default, 128x128 pixel PNG images. Though physically larger images are acceptable, bear in mind that mismatched thumbnail sizes may cause objects to be spaced wider apart when viewing them in a list. |
6. View your new datastream
 Image Added
We can now see that our new thumbnail datastream is associated with the object we attached it to. By simply maintaining the exact same DSID upon ingest, we can replace any datastream for any object using this same method.