...
- Records, that is, the metadata and their bitstreams must be in the Simple Archive Format describer earlier in this chapter. Thus, for each record there must be a separate folder that contains the corresponding files of the specific record.
- Moreover, in each record folder, there can be another file that describes the collection or the collections that this record will be added to. The name of this file must be “collections” and it is optional. It has the following format:
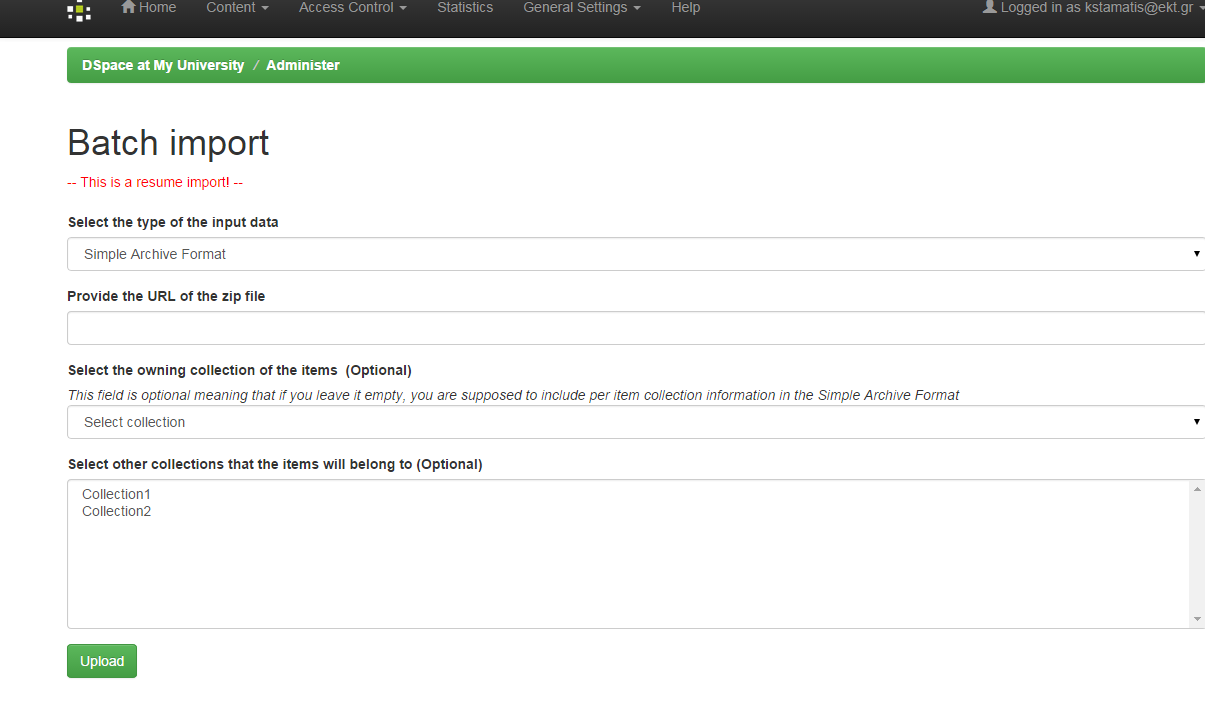 Image Removed
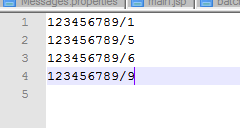 Image Added
Each line contains the handle of the collection. The collection in the first line is the owning collection while the rest are the other collection the item should belong to. - Compress the record folders in a zip file. Be careful, you need to zip the whole list of record folders and not just the folder that has within it the record folders. Thus, the final zip file must have inside it the records folder straight through.
- Place the zip file in a public domain URL, like Dropbox or Google Drive or wherever you have access to do so. Since such a zip file can be very big in size, the batch import UI needs the URL to download it for a public location rather than just upload it and get a timeout exception
...
- Login as an administrator
- Find the menu on the top right of the page, and select the “Administer” option
Image Removed
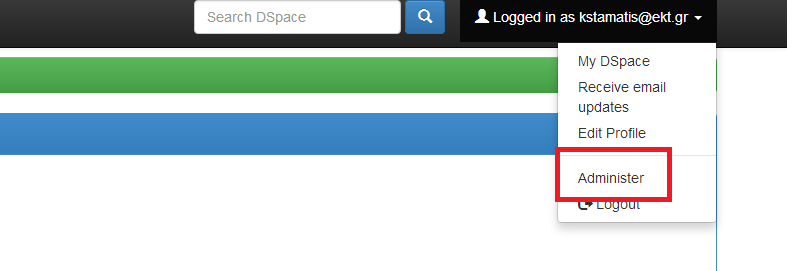 Image Added
- Select the option “Batch Import” from the drop down menu named “Content” on the top of the page
Image Removed
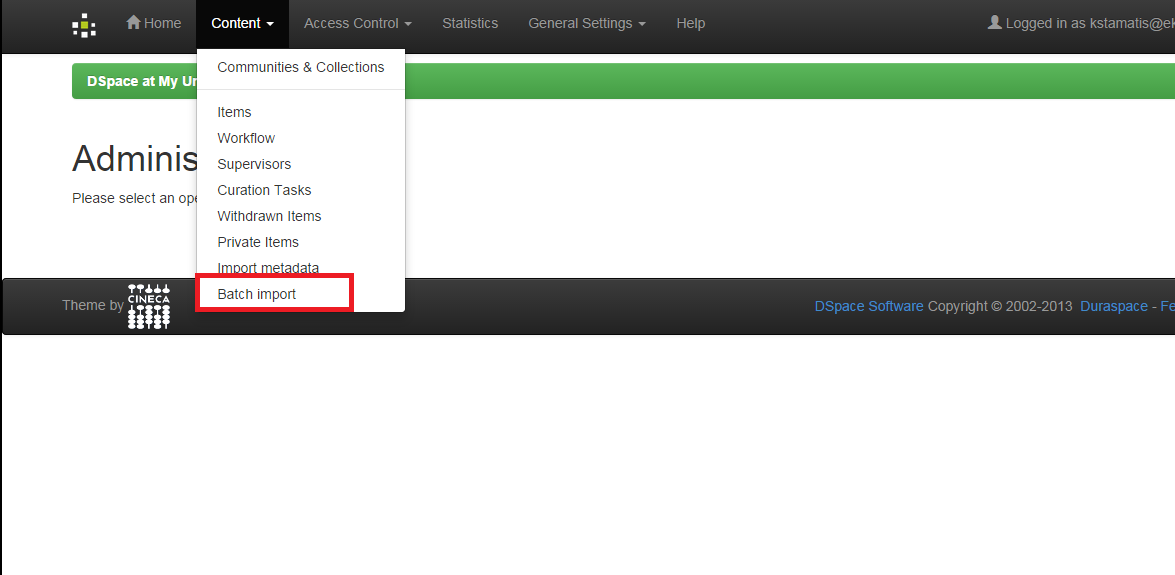 Image Added
Fill in the form that appears as follows:
- Field #1: select the type of the input data that you want to batch import. Be sure to select “Simple Archive Format” in this drop down menu
- Field #2: Copy/Paste the public URL where the zip file mentioned earlier is located
- Filed #3: Select the owning collection of the records you are importing. This field is optional meaning that if you leave it empty, you are supposed to include per item collection information (via the “collections” file mentioned before) in the Simple Archive Format
- Field #4: Select the other collections the record will belong to. You can select more than one collection by just holding down the Ctrl key on your keyboard. If you select the owning collection in this multiselect input control, it will be ignored at the very end.
Image Removed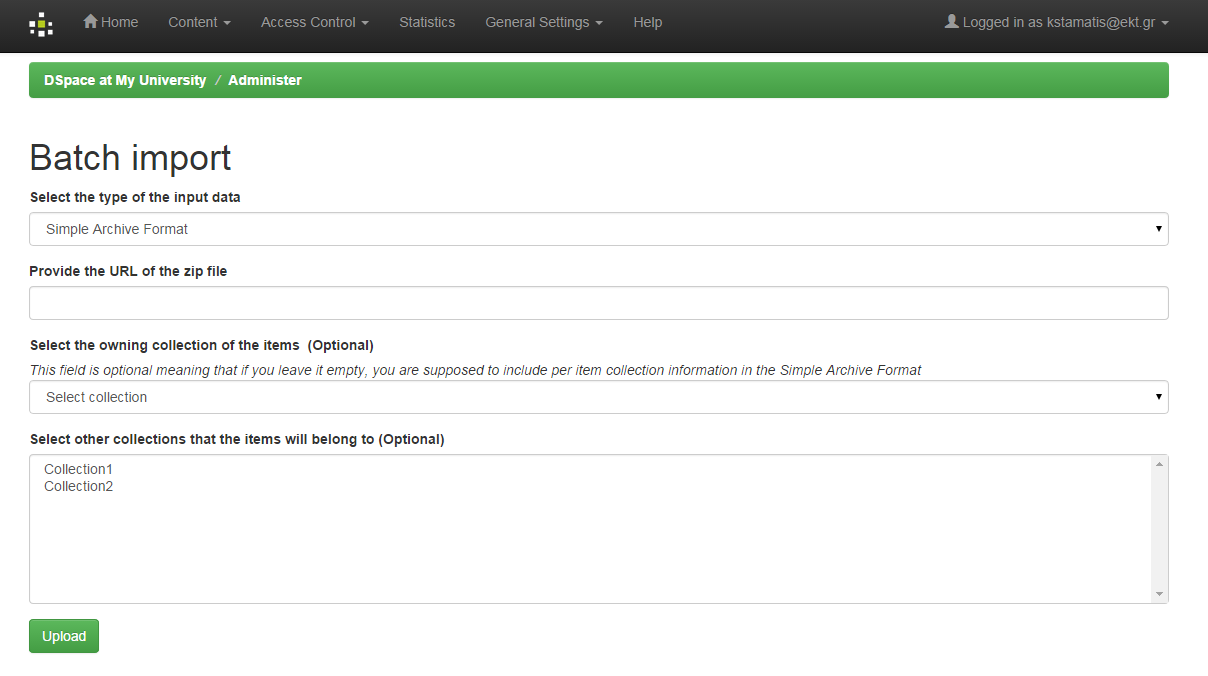 Image Added
Comments:
1) If you select an owning collection from this form, then, the “collections” file that may be included in the records will be ignored.
...
- Login
Visit “My DSpace” page
Image Removed
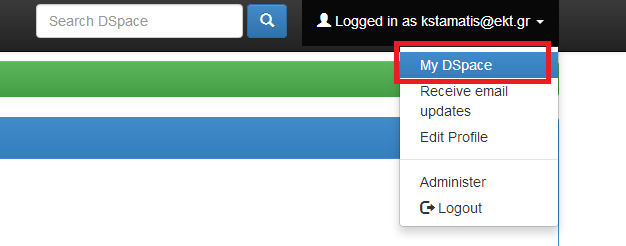 Image Added
- In the new page, you can see the batch imports that have be done in the past. For each import, the following information is available:
The status of the batch import (success or failure)The number of records that were finally imported
The number of records that the user tried to import
Image Removed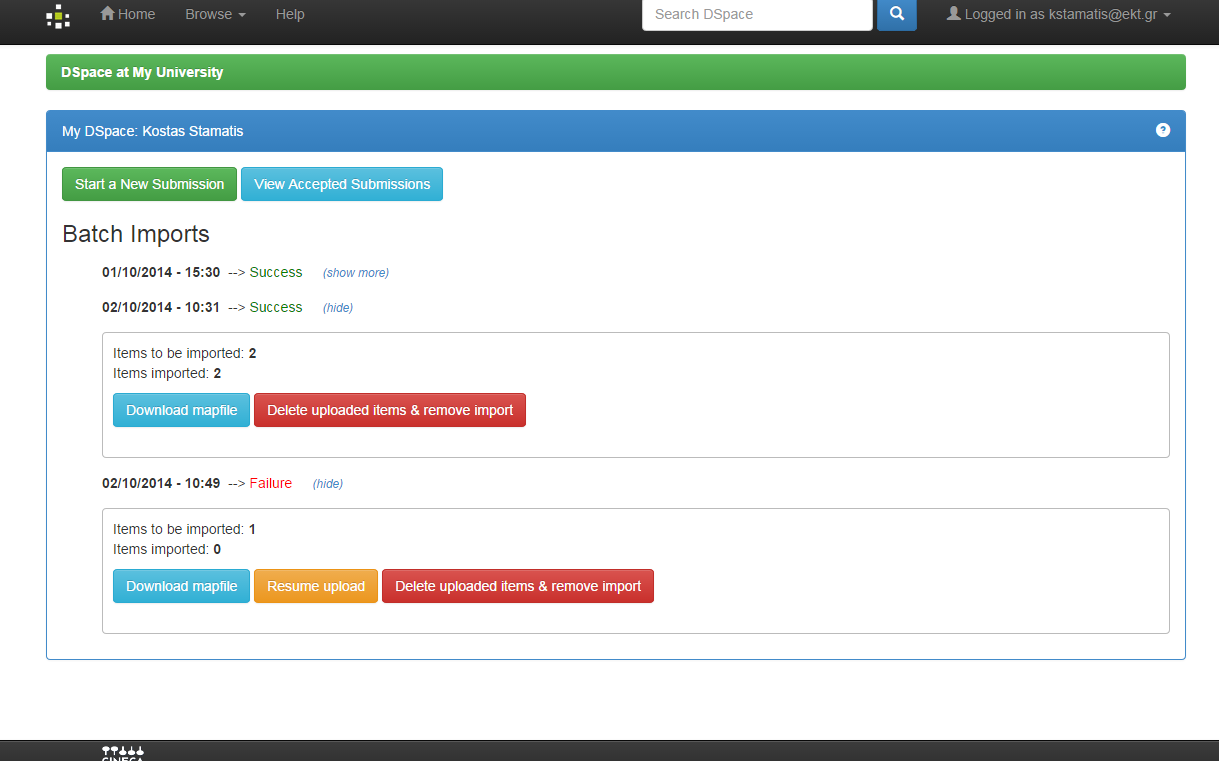 Image Added
Moreover, the user can take the following actions:
Download the map file that was produced during the import. In this file, someone can see the records that were imported and the corresponding handle that was given to them by DSpace
Delete the imported records. Everything will be deleted (and the history folder in the “import” directory in the DSpace installation folder)
In case of failure, the user can “Resume” the import. He is transferred in the upload form again, but the system knows the initial import (and the map file) in order to resume the old import. There is a red label in the form that informs the user for the “Resume” form.
...