...
There are two primary ways of deploying Fedora 4. The first ("one-click run") , One-Click Run, is an easy way to get Fedora 4 running to test out the basic features. The second ("servlet container install") , Servlet Container Install, is the approach to be used in production installations.
One-Click Run
- Download one of the following executable WAR files
- fedora-4... - no authorization enabled fedora-4... - authorization enabledlatest executable webapp "one-click-war" from downloads
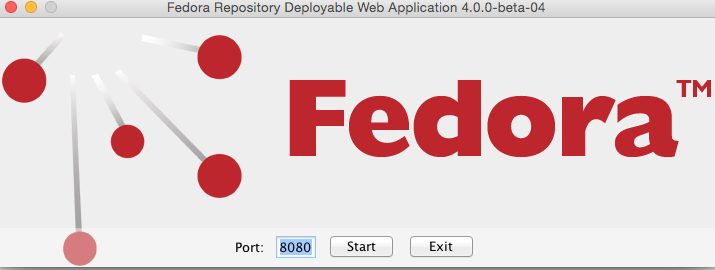
Either double-click on the download, or run the following command to start Fedora 4
Code Block java -jar fedora-4...fcrepo-webapp-<version>-jetty-console.war
Once Fedora 4 is seen to be running at the following URL, start exploring the feature tour
No Format http://localhost:8080/rest/
Note, port 8080 is the default. Replace that port number in the above URL if you used a different value.
Servlet Containers
Alternatively, instead of deploying Fedora 4 via the "one-click run", the Fedora 4 web-application can be installed by dropping the WAR file into a servlet 3 container, such as Tomcat 7 or Jetty 9.
Tomcat 7
- Download and install Tomcat
- Copy the Fedora 4 WAR file into Tomcat's "webapps" directory (e.g. /var/lib/tomcat7/webapps)
A note on configuration: In the case where no Fedora 4 system properties have been set, Fedora tries to use the current-working-directory as the home of persisted data. If the Tomcat user does not have write access to the installation area (e.g. /var/lib/tomcat7), then Fedora 4 will not deploy. The simplest resolution is to set the system property: "fcrepo.home=<some-writable-directory>" in the Tomcat configuration file (e.g. /etc/default/tomcat7)
Code Block title Example fcrepo.home configuration JAVA_OPTS="${JAVA_OPTS} -Dfcrepo.home=/tmp/fcrepo4-home"
...
8.
For details on installing Fedora 4 to those containers, see the Deploying Fedora 4 Complete Guide guide.
Next Steps
Once Fedora 4 is running,
...