The “public” and “edit view” of the “Layout configuration” function refer to the same concept. The first one allows to organize the Researcher data across one or more Tabs that are intent to visualization while the second one organize the Researcher data across one or more edit screen (tabs). Access to specific tab can be restricted to specific roles.
The following figure shows a sample configuration for Researcher’s Personal Page with two tabs.
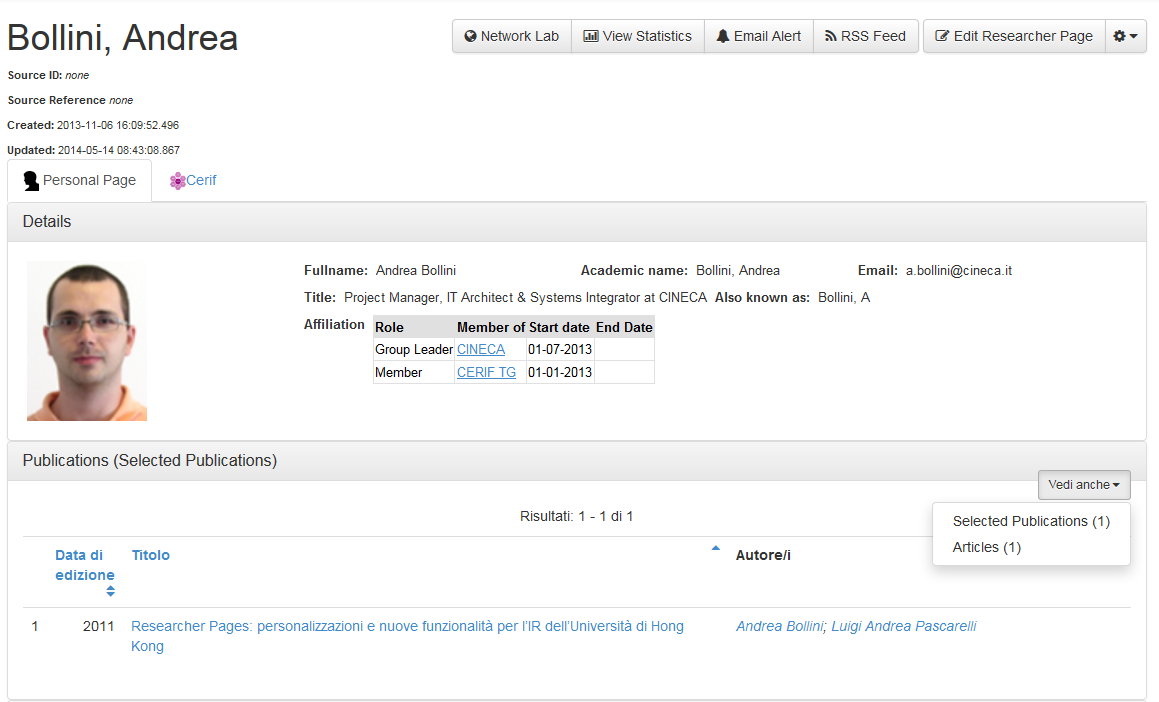
At the top of the page there are two tabs: “Personal Page” and “Cerif”. Furthermore, each tab contains one or more collapsible boxes, each one containing the researcher’s data.
The following figure shows the configuration side of the Researcher Page previously viewed.
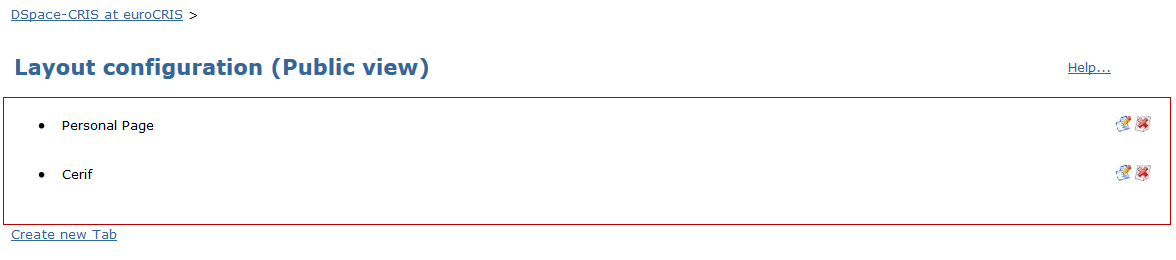
“Personal Page” and “Cerif” tabs may be edited or deleted.
Deleted tab cannot be restored, it has to be created again.
It is also possible to create new tab clicking on the “Create new Tab” link, at the bottom of the page
Tab Configuration
By clicking on “edit” option, the system displays the following form.
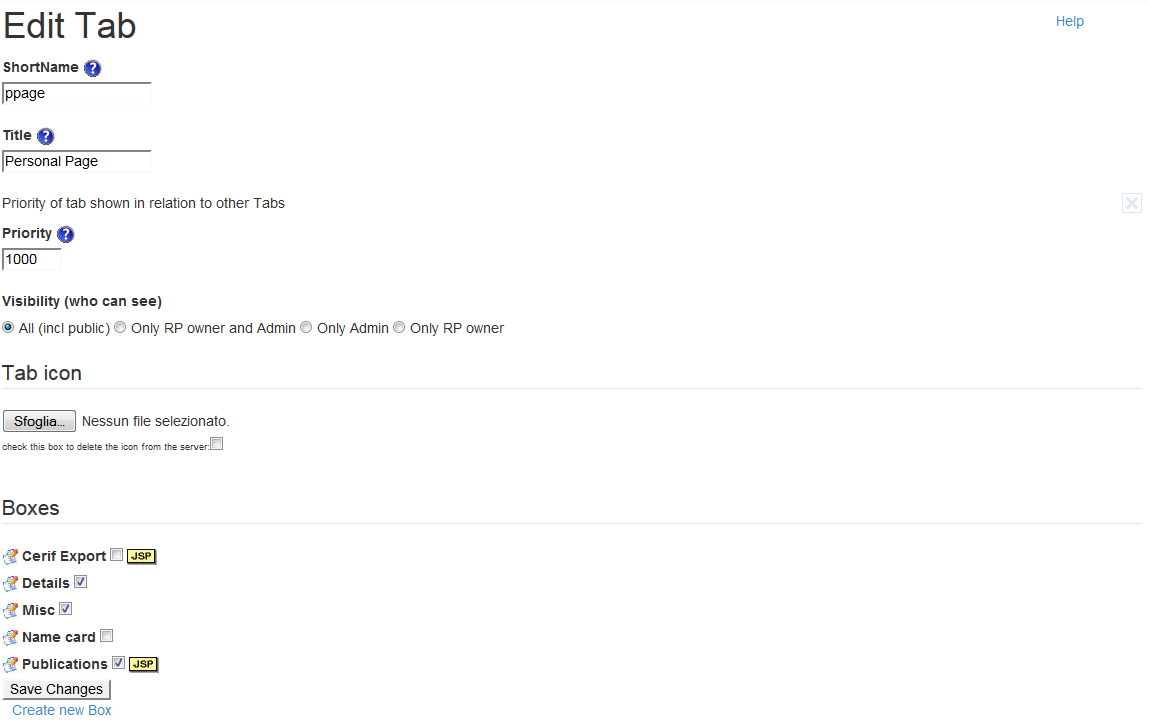
Shortname: it represents the unique identifier of the record (if you want to modify it your installation manager must be informed)
Title: name of the tab displayed in the ResearcherPage.
Priority: numeric value that indicates the priority of the displayed tabs (if two or more tabs have the same ‘priority’ value, the labels will be displayed as before).
Visibility: it indicates who can access to the tab. The options are:
- High level (all): accessible to anyone
- Show to RP owner and to admin: accessible only by the page owner and by the administrator
- Show only admin: accessible only by the administrator
- Show only to RP owner: accessible only by the page owner
The “tab icon” section allows to upload a file in order to set the tab icon.
The “boxes” section shows the list of all existing boxes. Tick boxes are included in the current Tab (see also “Group Metadata, aka boxes” for further details).