You are viewing an old version of this page. View the current version.
Compare with Current
View Page History
« Previous
Version 20
Next »
Overview
Preparing Your VIVO
Loading the Data
To load the data into a first time VIVO data store, follow the steps below.
- Log in to your VIVO as a site admin
- Goto to Site Admin / Add/Remove RDF Data
- Enter the address of the sample data, https://raw.githubusercontent.com/vivo-project/sample-data/master/sample-data.n3, select "add instance data," and set the file type to "N3." See below
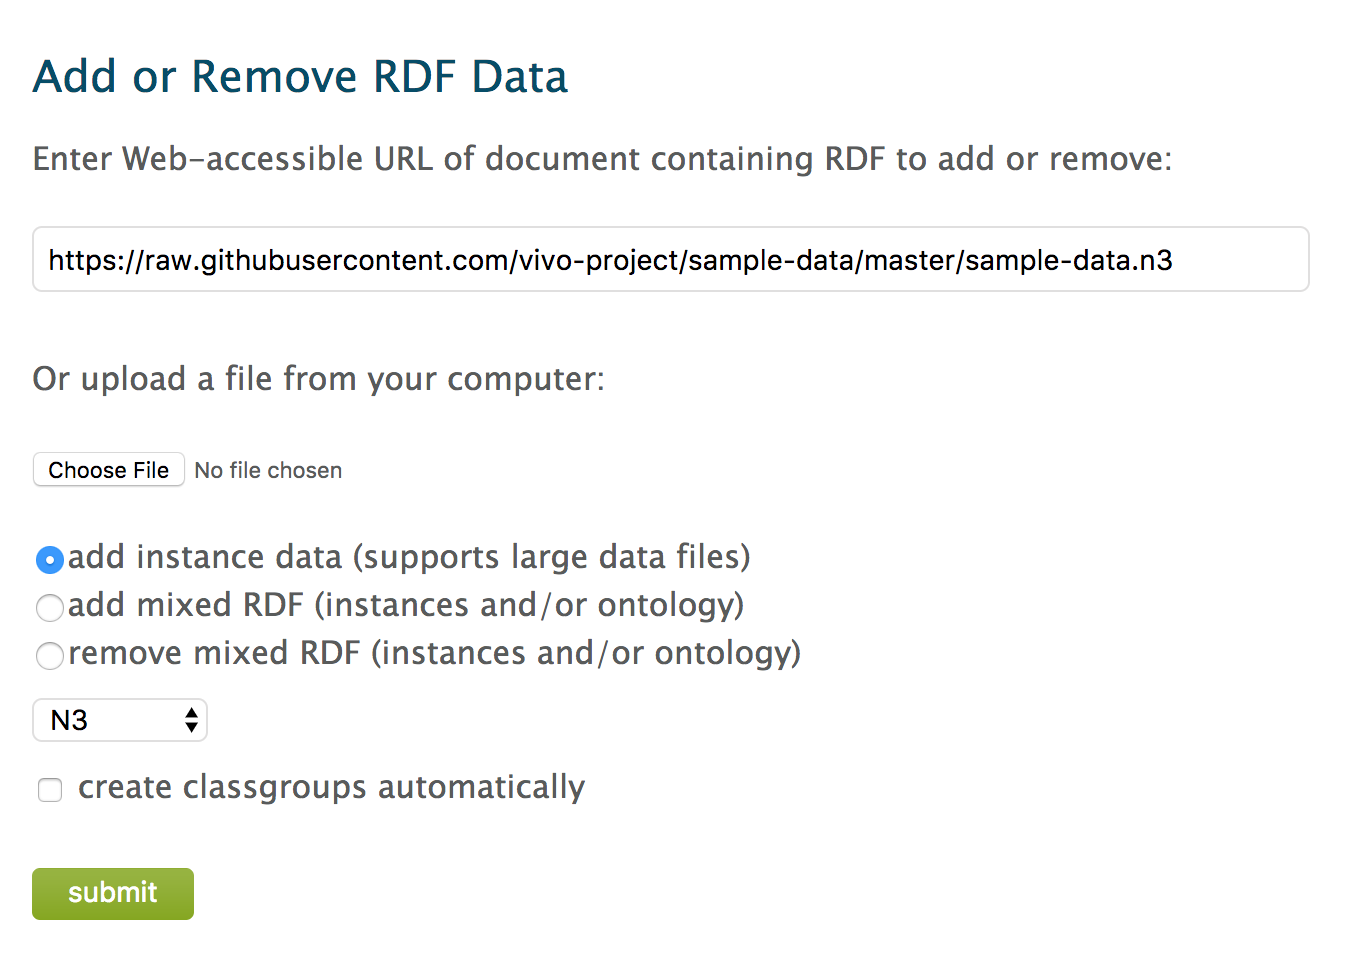
- Check to make sure you have the form filled out properly: 1) the URL for the sample data has been entered as shown; 2) "add instance" is selected; 3) "N3" is selected as the file type. Press Submit.
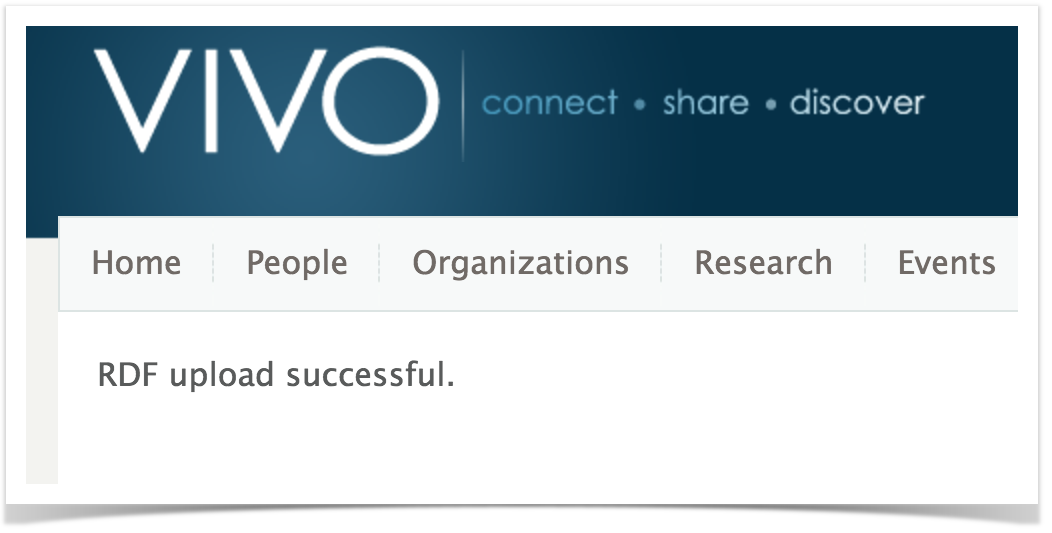
- After a brief upload, you will see
- Navigate to your home page. You should see
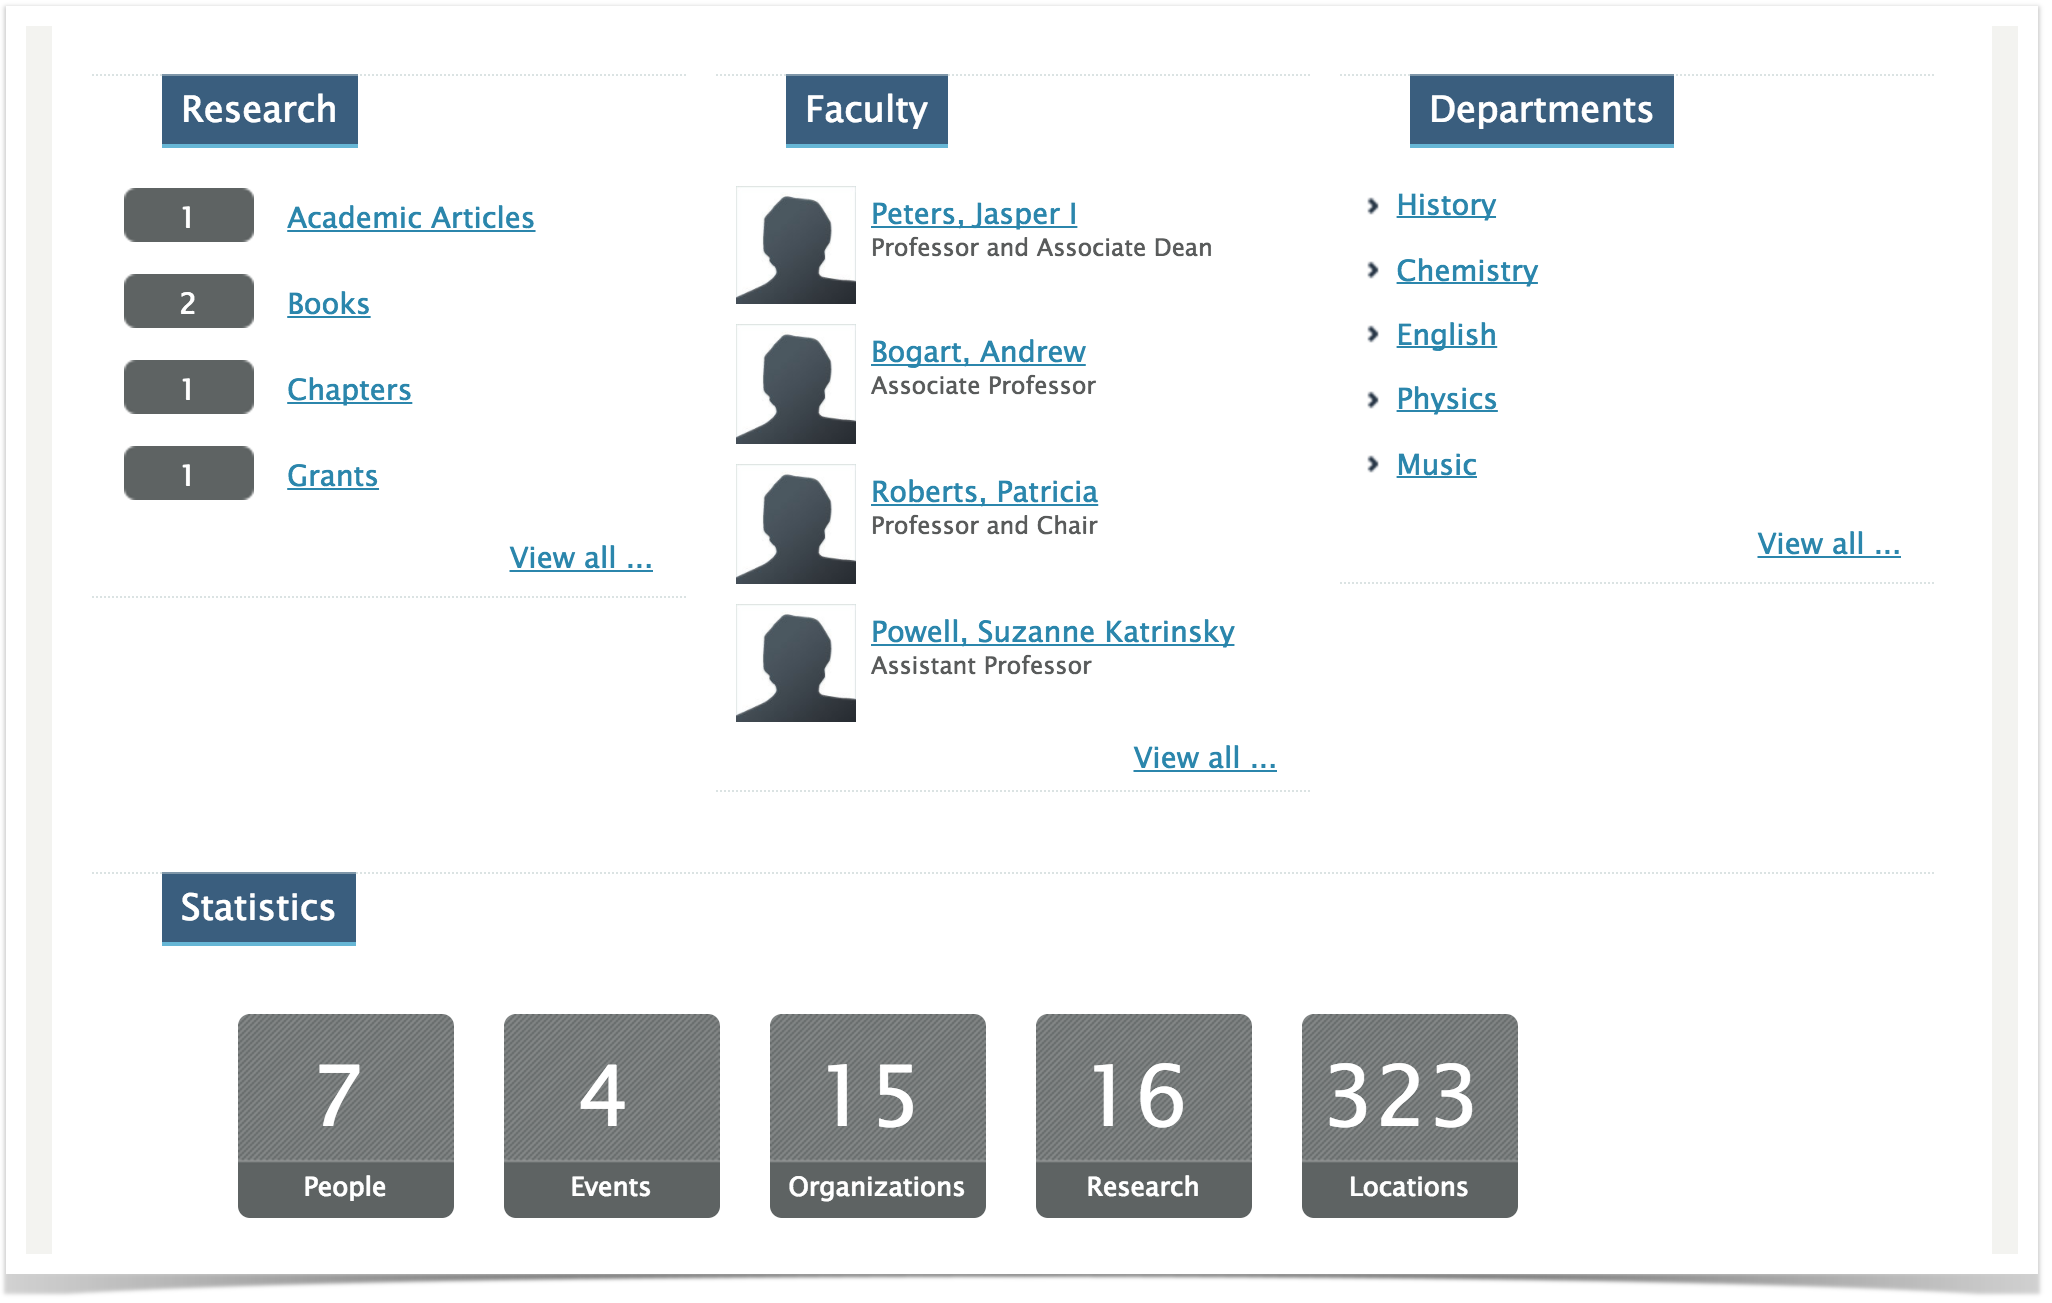
- That's it! Let's start exploring.
Exploring the Interface
Exploring the Data
Resetting Your Triple Store