VIVO Documentation
Old Release
This documentation relates to an old version of VIVO, version 1.10.x. Looking for another version? See all documentation.
Overview
VIVO uses Freemarker templates to create its web pages. These templates can be modified to alter VIVO's appearance. Most VIVO sites alter VIVO's default appearance. VIVO has a "Site Info" capability that allows a few presentation elements to be modified from the Site Admin menu. Modifying other elements involves creating a theme and modifying that theme. Here we describe simple modifications that most sites want to make before they go into production. For a detailed description of theming and templates, see Creating a custom theme
Create a Theme
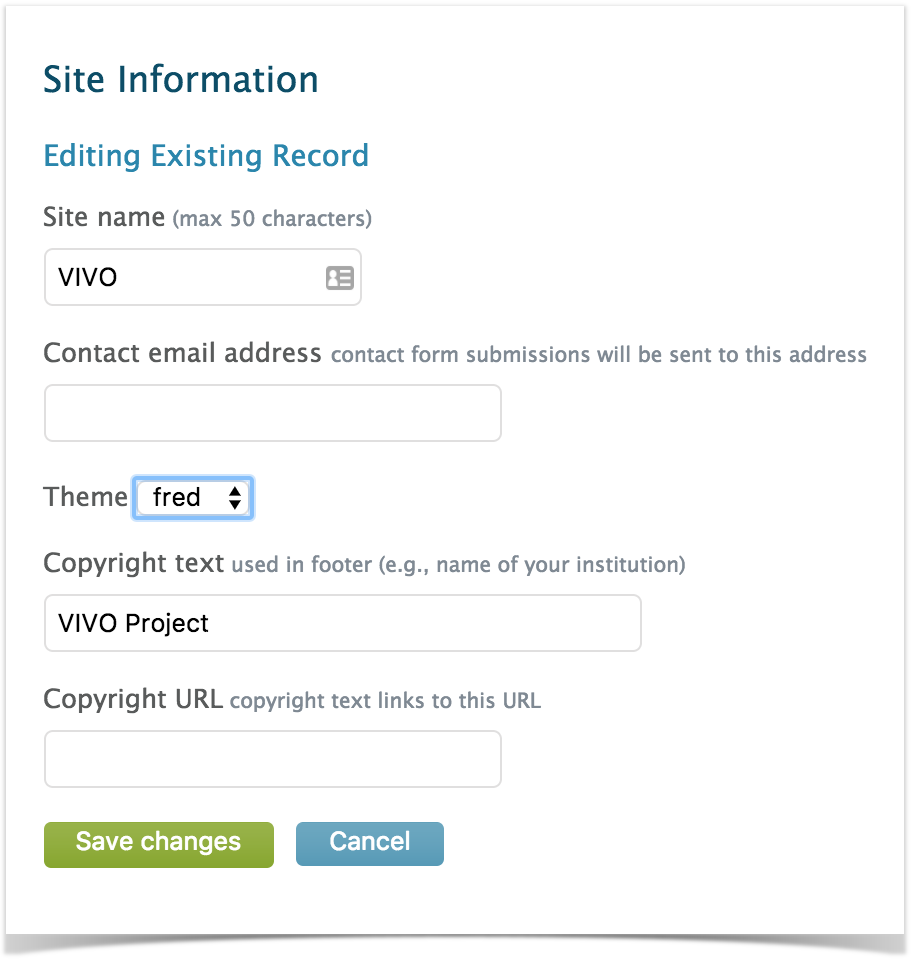
VIVO comes with a standard theme, called To create a new theme, choose a name for your new theme. In these examples below we will call the new theme Copy the wilma directory and its contents to a new directory called Your new theme will contain CSS files, image files, and Freemarker templates. Run the Maven install to deploy your new theme to the Tomcat container. Restart the VIVO Tomcat process. You can then go to the Site Admin page and choose Site Information, to select your theme as the current one.wilma. wilma is in the folder in vivo/installer/webapp/target/vivo/themes. fred. fred. fred must also be in vivo/installer/webapp/target/vivo/themes.
Modify Header with Logo
Now that you have a theme, we can modify the templates in the theme to change VIVO's look. Let's start with the header. VIVO begins each page with an identity block. You can find the template in fred/templates/identity.ftl
Modify Footer
Add Your Colors
Additional Theming
For more information on theming, see Creating a custom theme

